### Blog Post:
LVP flooring is one of the most popular choices for busy households, remodelers, and anyone needing waterproof, low-maintenance surfaces in 2024. This practical guide uses current data and real-world installation steps to help you decide, compare options, and confidently complete your luxury vinyl plank flooring install—whether you DIY or hire a professional.
Key Takeaways
- LVP flooring dominates the US resilient flooring market with a 34.2% share in 2024 and offers unmatched waterproof durability for kitchens, basements, and busy homes.
- Choosing the right product means comparing wear layer thickness, core type, underlayment, and realistic warranty limitations—don’t trust generic “waterproof” claims alone.
- Installation success depends on careful subfloor prep, flatness, and acclimation—not just snap-together planks—while pros add real value on subfloor and complex installs.
- Quick Verdict — When LVP flooring is the smart choice
- Step-by-Step Guide: How to Compare, Buy, and Install LVP
- Advanced Analysis & Common Pitfalls
- Conclusion
- FAQ
Quick Verdict — When LVP flooring is the smart choice
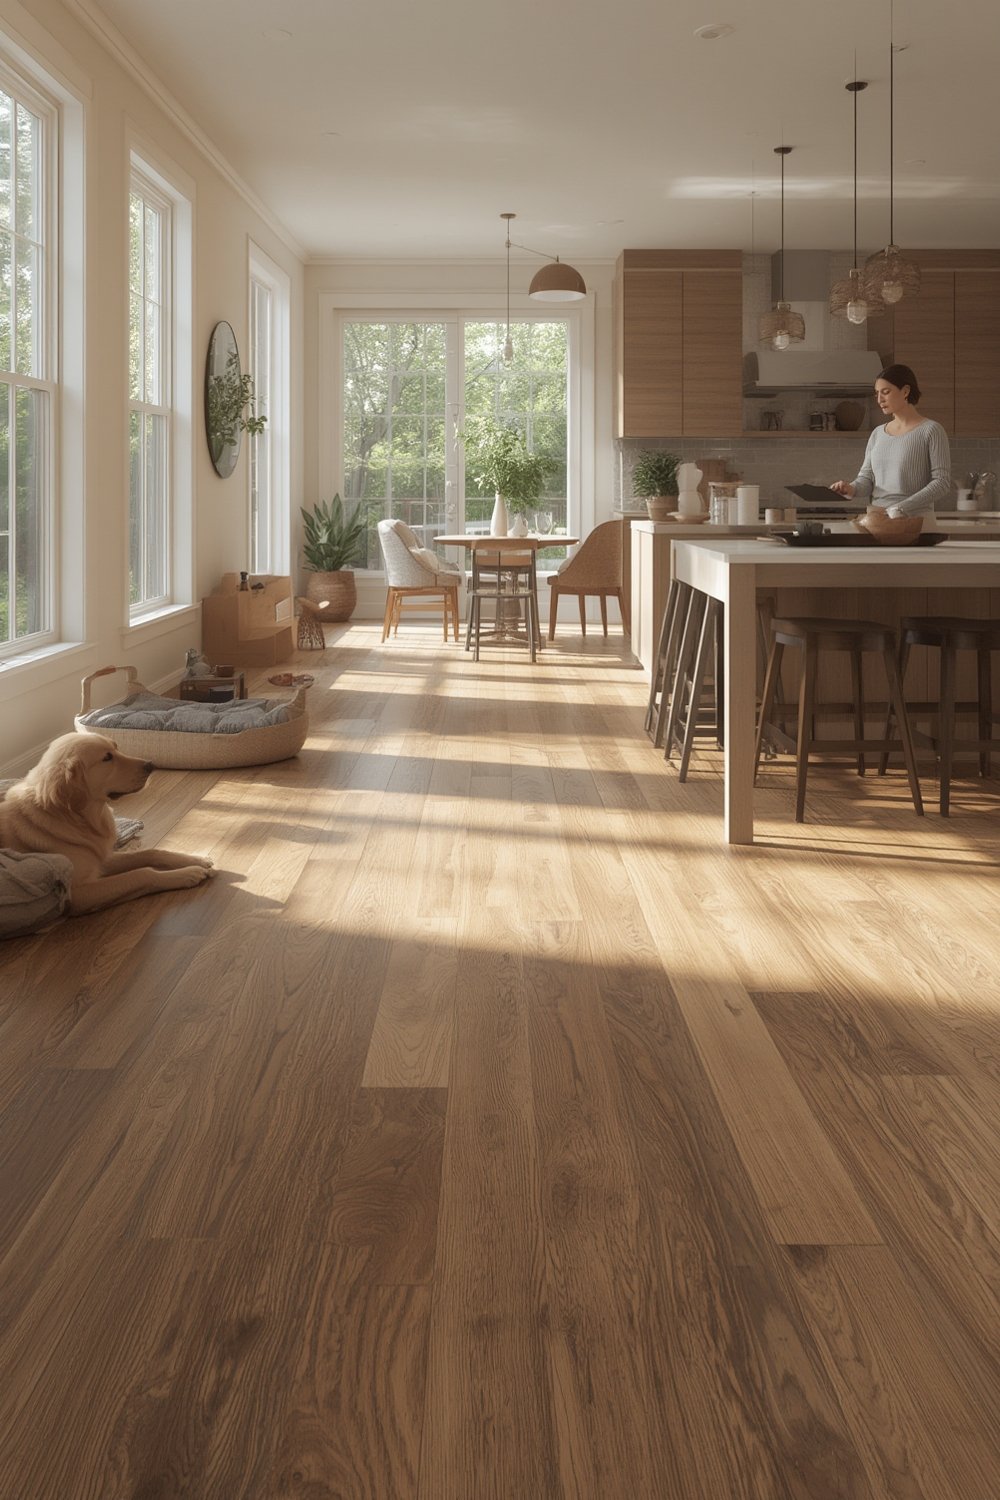
LVP flooring stands out for waterproofing, kid and pet durability, low maintenance, and easy installation—making it ideal for kitchens, basements, playrooms, and high-traffic areas. Its 2024 US market share of 34.2% by material outpaces most alternatives including laminate and tile [MarketDataForecast]. The main pros:
- Water-resistance for daily spills (unlike wood or most laminate)
- Scratch and dent resistance (if you choose a thick wear layer)
- Low-cost, straightforward install (floating or glue-down)
- Massive design range—wood, stone, concrete looks
But LVP does have cons—surface and subfloor must be flat and dry, cheap products scratch easily, mold risk if water seeps beneath, and it doesn’t offer the continuous barrier of tile or commercial sheet vinyl. If you want authentic wood feel, silence, or seamless waterproofing in shower zones, explore tile solutions instead.
Step-by-Step Guide: How to Compare, Buy, and Install LVP
Ready to start your luxury vinyl plank flooring install? Here’s the actionable roadmap that covers selection, budgeting, prep, and both DIY and pro installation.
-
Measure & Budget Accurately
Measure each room’s square footage and add 5–10% for cuts and waste. Expect these 2024 mid-range installed totals:
Northeast: $6.50–$8.50/sq ft, West Coast: $6.50–$9.00/sq ft, Midwest: $4.50–$6.50/sq ft, South: $4.25–$6.50/sq ft.
Material-only tiers range from $1.50–$7.00+, but most homeowners get the best value in the $2.50–$4.00/sq ft range with pro labor from $1.75–$5.00/sq ft [Floor Covering News]. -
Select Your Specs
- Wear Layer: 20+ mil for pets/kids, 12–20 mil for bedrooms/low-traffic
- Core: SPC for maximum stability (basements, sunrooms); WPC for comfort/warmth (living areas)
- Attached underlayment? Check for sound/thermal ratings and radiant heat compatibility
- Certifications: FloorScore or Greenguard Gold to avoid VOC/odor complaints
- Warranty: Read exclusions on standing water, hydrostatic pressure, and subfloor prep
-
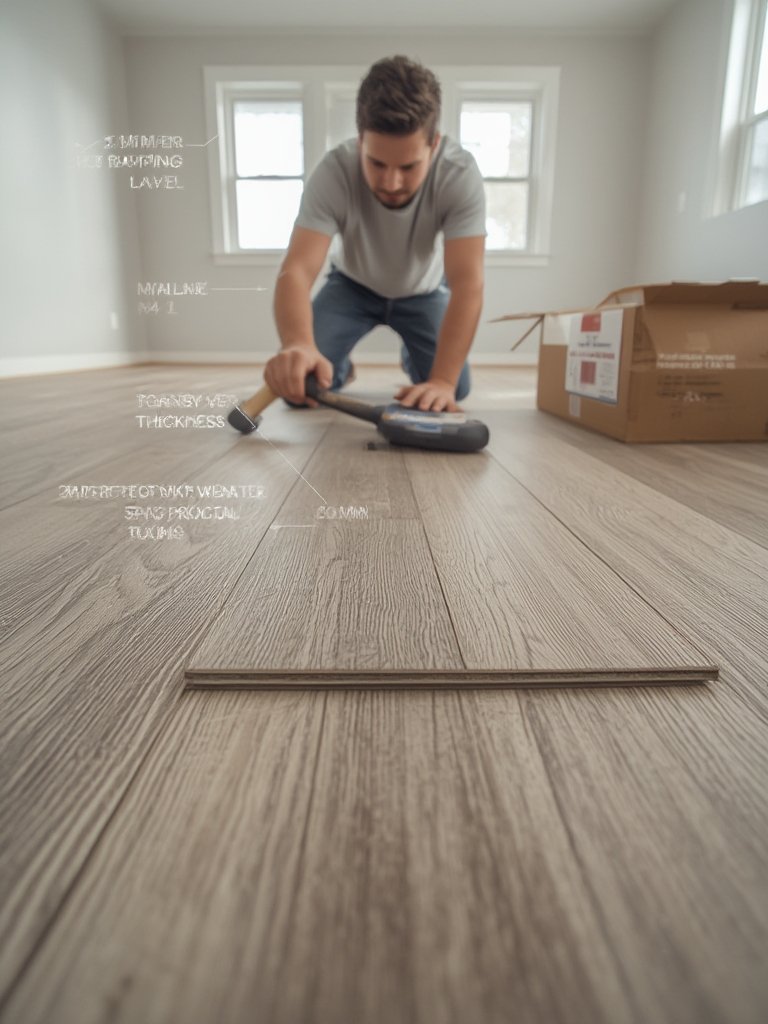
Prep the Site—Never Skip Flatness and Moisture Testing!
- Remove carpet, cushion-backed vinyl, and anything loose or spongy
- Floor must be flat within 3/16″ over 10 feet (or 1/8″ over 6 feet)—use leveling compound if needed
- For concrete slabs, do a moisture test (per manufacturer, usually ASTM F2170 or F1869)—it’s required for warranty
-
Acclimate If Required
- SPC often claims “no acclimation” but follow the box recommendations. Most WPC/flexible LVP: 24–48 hours in room at 60–80°F.
-
Layout and Install
- Plan plank direction (usually parallel to main light or longest wall)
- Use spacers for 1/4–1/2″ perimeter gap—never install tight to walls
- Stagger plank ends by at least 6″
- Score and snap or use a fine-tooth saw for cuts
- Install base/quarter round last to cover expansion gap
-
If Hiring a Pro:
- Get clear quotes on subfloor leveling/removal extras—not just sq ft price
- Check references and require proof of moisture testing
- For glue-down, make sure traffic/wait times are confirmed in writing
Time Estimate: Most experienced DIYers can install 200–400 sq ft/day of click LVP in a wide-open space. Add a day for prep and a day for trim if you are a first-timer or dealing with lots of room breaks/doors.
Advanced Analysis & Common Pitfalls
Even though LVP flooring is resilient, ignoring small details leads to costly problems. Here are the issues that frequently trip up both homeowners and installers, plus how LVP stacks up to alternatives.
| Issue | LVP Flooring | Hardwood | Laminate | Tile |
|---|---|---|---|---|
| Water/Spill Tolerance | Plank is waterproof Joints can leak Not a full barrier Best for kitchens/basements |
Can warp or stain Never recommended in wet areas |
“Water-resistant” grades now common Still vulnerable to major leaks |
Impervious with proper waterproofing Seams can fail if grout cracks |
| Scratch Resistance | Strong with 20mil+ wear layer Cheap lines scratch easily |
Prone to dents, scratches (esp. engineered/softer woods) | Often good, but edge swelling if water seeps in | Very high; ceramic/porcelain is hard but grout stains |
| Mold/Moisture Under Floor | If water trapped below floating LVP, mold risk rises fast | Can warp if subfloor gets wet Expensive to fix |
Core can swell Likely ruined if flooded |
Best when fully waterproofed Substrate matters |
| Dimensional Stability | SPC is rigid, but can gap/buckle if expansion gaps missing or temp swings | Swells/shrinks with humidity | Stable, but cheaper types can gap/peak | Does not move, if installed to code |
- Most warranty denials on LVP come from ignored subfloor prep and high subfloor moisture—not manufacturing defects. Always test and document moisture before install.
- If you want to finish a below-grade basement, LVP beats most wood but you must control moisture from the slab for a long-term healthy result. For absolute water containment, look to grouted tile with waterproof membranes or sheet vinyl.
- Pattern repetition and structural noise (hollow/echo) are most noticeable on cheap LVP, wide-open installs, and uncorrected subfloors. For best comfort and acoustic results, explore lines with denser cores, attached high-quality pads, and compare bathroom flooring alternatives for high-moisture needs.
Hidden Risks Most Competitors Ignore
- Expansion and contraction: Even SPC moves over big temperature swings. Ask vendors for testing data—not just marketing claims—if using in sunrooms or large open areas.
- Mold beneath floor: “Waterproof” planks do not guarantee mold-proof installations. Floods or leaks can trap water under floating floors, needing full floor removal and risk of subfloor/IAQ problems. If this matters, look for acoustically rated, mold-resistant underlayments, and always patch cracks before install. Learn more about waterproofing best practices here.
- Acoustics and comfort: Find product data on STC/IIC sound ratings and R-value (thermal resistance). SPC is the “coldest/hardest” in feel; WPC and cork-backed lines improve comfort underfoot.
Conclusion
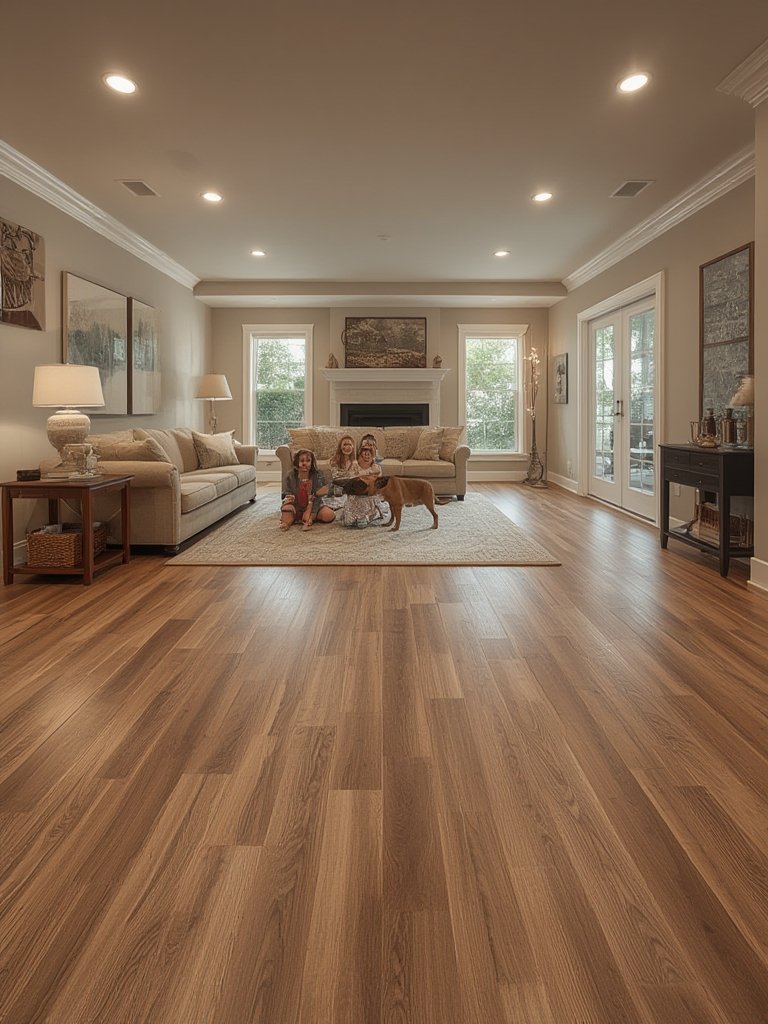
With robust waterproof design, wide style choices, and easy install, LVP flooring is a top solution for American homes, especially when you’re upgrading kitchens, basements, and family zones. The keys are smart spec selection—especially wear layer and core—subfloor prep, and understanding warranty fine print. If in doubt, pro labor adds value by preventing costly mistakes. For rooms where total waterproofing or sound insulation matters, compare to tile or higher-end WPC/cork-back options. Ready to plan your luxury vinyl plank flooring install? Start with accurate measurements and don’t hesitate to get pro quotes—your floors will outlast trends and toddler spills alike.
Need more flooring help? Dive deeper with our Everything Vinyl Guide, discover tile and grout strategies, or see how flooring fits into a complete bathroom remodel: Bathroom Guide.
FAQ
Is LVP flooring really waterproof?
The planks themselves are 100% waterproof, surviving short spills and even temporary submersion. But LVP does not act as a seamless waterproof barrier; water can seep beneath planks and trap moisture, risking mold or subfloor damage, especially after floods. Most warranties exclude hydrostatic pressure and standing water [Floor Covering News].
Can I install LVP over old tile floors?
Yes – if your tile installation is sound and flat, and grout lines are patched flush. Check manufacturer requirements for specific flatness (generally within 3/16” over 10 ft).
How long should I wait to reinstall LVP after a water leak?
Remove and thoroughly dry both subfloor and planks before reinstalling. Wait until moisture meters confirm the subfloor is within manufacturer limits—often less than 75% RH for concrete. Rushing this step risks mold and buckling.
Will LVP show scratches or scuffs over time?
LVP with a 20 mil+ wear layer and ceramic/aluminum oxide finish resists most scratches, but lower-end or high-gloss lines can show marks from pet claws or furniture. Use felt pads and keep grit off the surface for maximum durability.
What rooms are best for LVP, and when should I use alternatives?
LVP excels in kitchens, basements, laundry, and kid/pet zones. For showers or where subfloor moisture is extreme, tile with waterproofing or sheet vinyl is safer. Always control moisture regardless of material choice. Get expert waterproofing tips in our tile guide.
—