Biophilic indoor wall install is more than a design trend—it’s a practical way to transform your home or office for better health and comfort. This deep-dive guide helps you decide: should you buy a living wall installation kit and go DIY, or hire experienced pros? We break down the steps, costs, kit choices, and maintenance no one else will tell you about.
Key Takeaways
- Biophilic indoor wall installs boost wellbeing but require serious planning—don’t get caught by surprise maintenance or hidden costs.
- Compare living wall installation kit features (plant compatibility, irrigation, warranty) and get real vendor quotes before you buy or hire.
- Maintenance, real-world complaints, and exact install steps are often glossed over—this guide fills those gaps with actionable, peer-reviewed info.
- Why Biophilic Indoor Wall Installs Matter Now
- Step-by-Step Technical Requirements for a Successful Install
- Advanced Analysis & Common Pitfalls
- Conclusion
- FAQ Section
Why Biophilic Indoor Wall Installs Matter Now
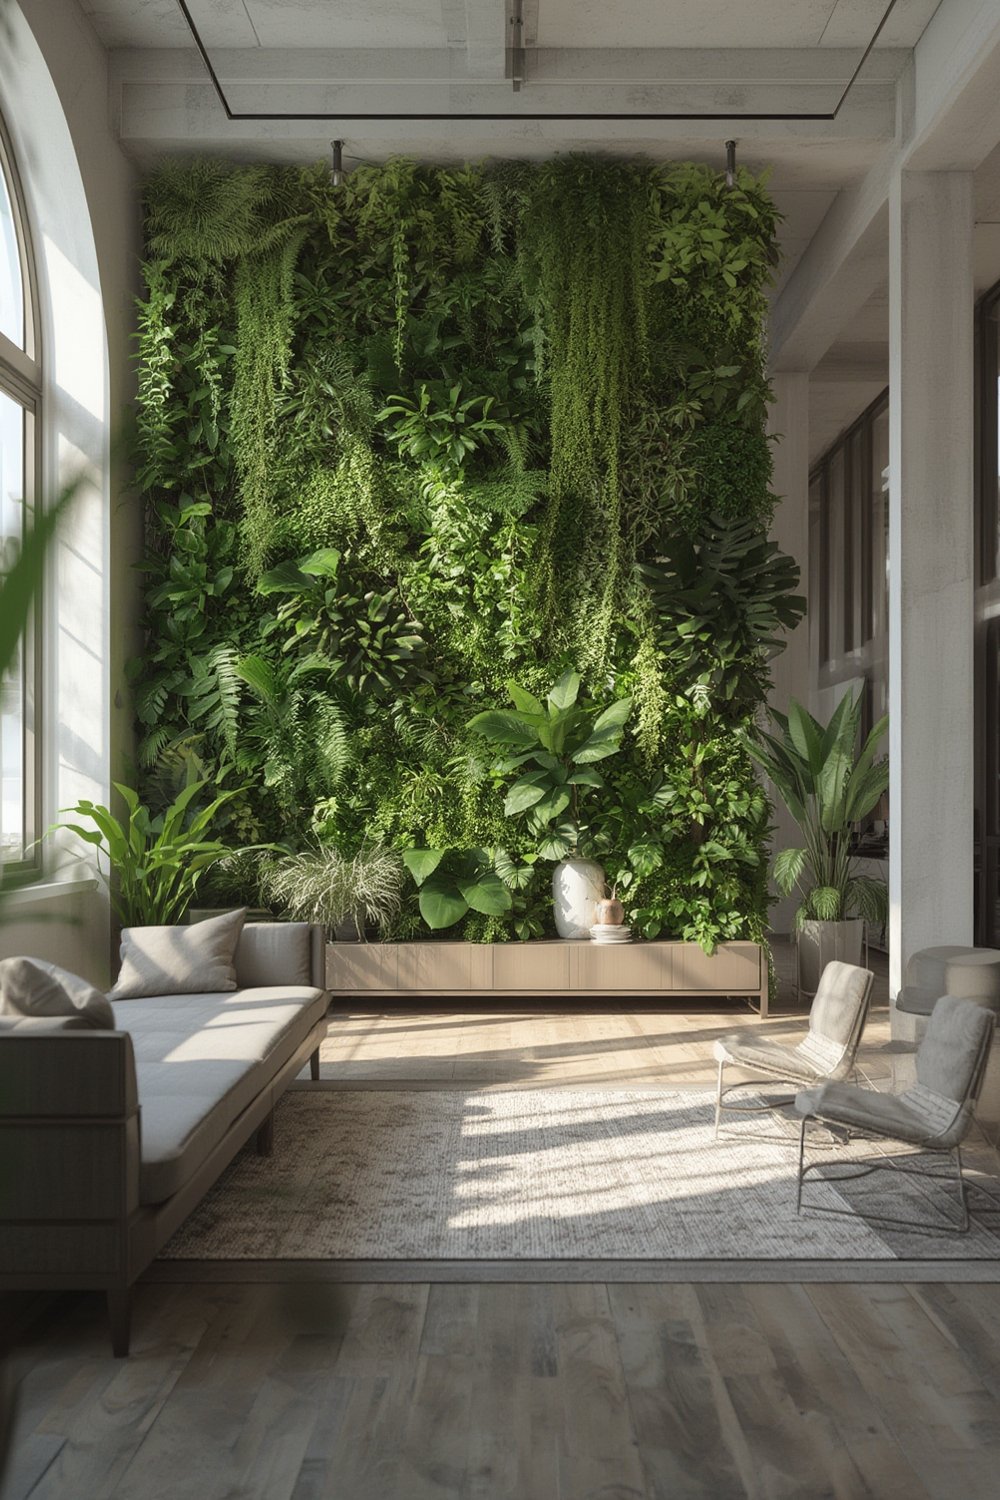
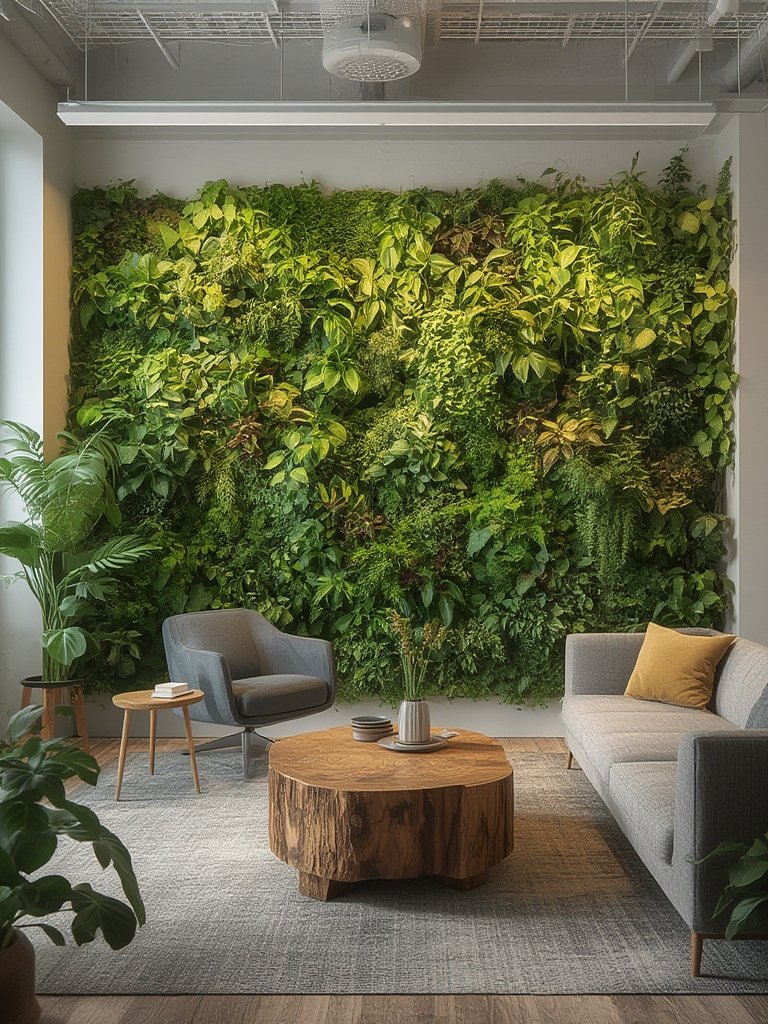
A biophilic indoor wall install means mounting a living wall of real plants inside your home or workspace, using modular kits or custom systems. These living walls are designed to bring nature indoors, counterbalance sterile architecture, and deliver measurable health benefits. Why care now?
- Biophilia’s rise is real: Global green wall market is valued at USD 9,185.9 million in 2024, forecast to reach nearly USD 20 billion by 2030 (CAGR 9.5%).
- Drivers: Urbanization, demand for sustainability, and hard evidence that plants improve mental health and attention. Peer-reviewed studies now connect indoor greening to lower stress and better air.
- Specifiers, facility managers, and design-led homeowners want more than hype: real cost, maintenance, and wellbeing data fuel this market’s growth.
The bottom line: biophilic indoor wall installs are booming, but the decision and execution process requires honest information—especially for those responsible for budgets and occupant wellbeing.
Step-by-Step Technical Requirements for a Successful Install
Ready to install a living wall? The process isn’t just “stick plants to wall and water.” Here’s a qualified, practical sequence—no steps skipped. Use this if you’re sourcing a living wall installation kit or hiring a pro.
1. Site Survey and Feasibility
- Light: Assess both intensity and duration (ideally 200–350 foot-candles for leafy tropicals; LED grow lights where natural light is low)
- Wall Type and Load: Concrete/masonry better than drywall; wall must support 8–15 lbs/sqft (includes wet substrate, irrigation, mature plants).
- Humidity and Ventilation: Too dry and plants wilt; too humid and you risk mold—ideal is 40–60% indoor RH, with exhaust if needed.
- Nearby Water and Electrical: Proximity to water source/drain and GFCI-protected electrical outlets is essential for irrigation pump and timer.
2. Structural and Waterproofing Preparation
- Reinforce wall studs if drywall; anchor to solid blocking or masonry for panels larger than 4 sq ft.
- Install full-height waterproof membrane (EPDM or PVC sheet behind the panel) with overlapping seams and corners sealed.
- Add leak-protection tray at base to catch overflow and route to drain or pump basin.
3. Living Wall Installation Kit Components
- Panels, trays, or modules rated for indoor use (usually HDPE, powder-coated steel, or recycled composite—look for Class A fire rating and commercial warranty).
- Substrate: Options include hydroponic felt, sphagnum moss, coconut coir, or engineered foam. Soil-based systems are heavier and need more frequent replacement.
- Plants: Confirm with supplier—varieties suited for your light/humidity, mature size (no larger than panel depth), and root behavior.
- Irrigation: Wick-based (low tech, manual refill), drip irrigation (with timer and pump), or recirculating hydroponic (pump, reservoir, filter)—match to your comfort with plumbing/electronics and maintenance.
4. Tools & Materials List
- Drill/driver, level, stud finder, utility knife, waterproof caulk, anchors/lag screws, pipe wrench (if plumbing), wirecutters, moisture sensor, PPE (gloves, goggles).
- For hydroponic kits: inline filters, tubing, water pump (sized for wall height), digital timer, power cord with GFCI plug.
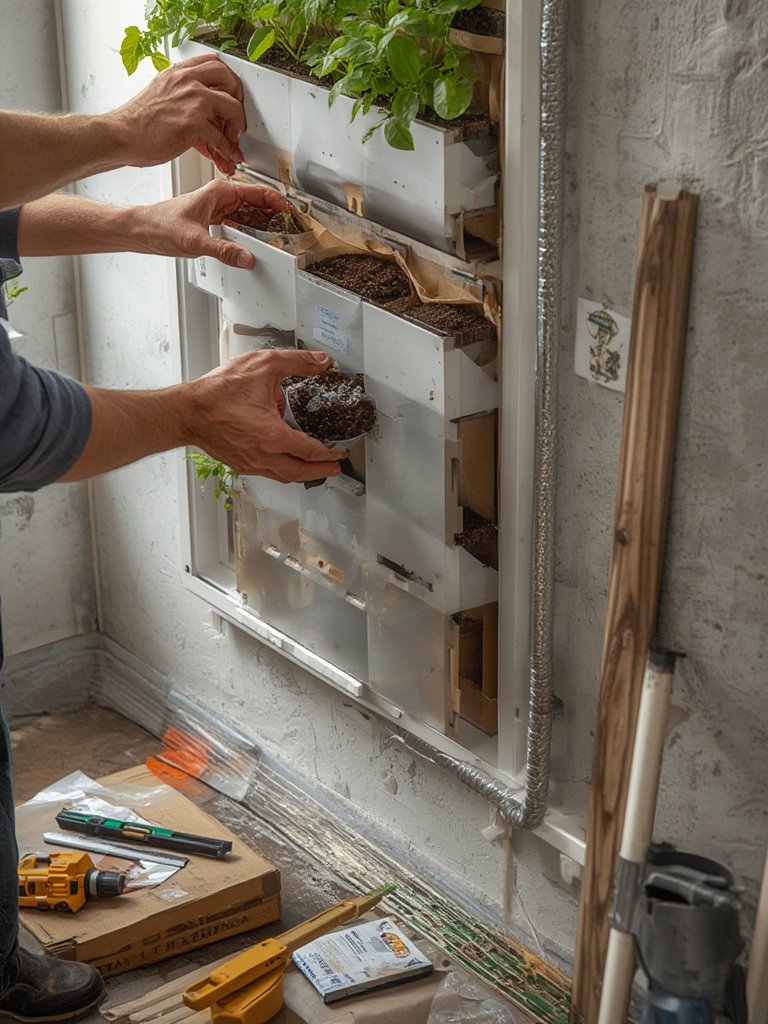
5. Assembly Process (Sample Sequence for Modular Kit)
- Lay waterproof membrane, fasten to wall with mechanical fixings plus caulked edges.
- Anchor modular module panels/rails on furring strips or directly to reinforced wall framing.
- Install irrigation piping, pump, and reservoir (for recirculating) or connect to building water line with backflow preventer (for direct-to-drain systems).
- Install substrate and pre-potted plants or plant plugs, following kit schedule (group by light and water needs for best results).
- Set irrigation timer; run test cycle to check for leaks, uniform flow, and water retention.
- Commission with initial heavy watering and plant inspection—trim any rootbound or stressed plants.
6. Space & Clearance Requirements
- Leave minimum 6–10 inches clearance from floor, ceiling, and adjacent walls for air flow and plant growth.
- Access: Plan for step-stool or side entry for mid-wall maintenance.
If using a hydroponic kit, expect to add a nutrient top-up schedule and periodic water chemistry checks. Soil-based kits need less tech, but more substrate refreshes and pest vigilance.
For a more detailed maintenance and troubleshooting breakdown, see our bathroom system waterproofing guide as many principles apply to plant wall irrigation zones.
Advanced Analysis & Common Pitfalls
Most competitor guides skim the downsides—here are the documented challenges and how to prepare:
| Issue | Kit User Complaints (sourced from Trustpilot/Reddit/Google Reviews) | Fix/Mitigation |
|---|---|---|
| Poor Water Distribution (Uneven) | Leaves at top brown, lower plants waterlogged (Reddit reports show this with several entry-level kits) | Choose kits with adjustable drip/nozzle systems and test for uniform flow before planting out fully |
| Root Rot & Mold | Hydroponic panels complained of “strange smell” after 6 months, roots black/sticky (Trustpilot/Google) | Monitor substrate moisture (install a $12 moisture sensor), ventilate, and install a basic inline filter to keep water clean |
| Pests | Spider mites and fungus gnats cited in multiple customer photos | Use sticky traps, treat with neem oil, and avoid overwatering |
| Leaks and Wall Damage | Poor tray seam or pump overflow led to dry rot behind membrane | Check for full waterproof basin/tray, never route overflow onto unprotected floor—run regular leak checks |
| Maintenance Burden | “Takes more time than promised”—weekly pruning, monthly plant swaps, irrigation cleaning | Budget at least 30–60+ mins/week for panels & 2–3 hours/month for medium/large systems |
- Maintenance Schedules:
Daily: Check water reservoir, scan for drooping plants or leaks.
Weekly: Prune, deadhead, wipe leaves, top up water.
Monthly: Clean irrigation, rotate plants, inspect membrane.
Seasonally: Replace failed plants (plan 10–20% annual attrition), refresh substrate, calibrate sensors. - Top Complaints Real Users Report (via forums and review mining):
- “No one told me how much maintenance these actually take.”
- “Vendor support lacked troubleshooting for pump timer failures.”
- “Mold smell after the first winter.”
If you want a smooth experience, set up a scheduled maintenance plan or secure a service contract from your installer. For severe pests or leaks, reference our tile waterproofing and mold prevention guide for containment ideas relevant to living wall backups.
Conclusion
Installing a biophilic indoor wall install is a major upgrade for wellness and aesthetics—but only if you plan for real maintenance, choose the right installation kit, and clarify up-front costs. Don’t skip structural prep or assume all kits offer the same durability, warranty, or support. Sourcing directly from reputable vendors, demanding real photos and references, and budgeting for ongoing care lead to the happy, lush results you want—without surprise problems.
Ready for your own living wall? Start with a small pilot kit, document every install step, and set a recurring calendar event for plant care. For step-by-step maintenance and waterproofing know-how beyond biophilia, explore our comprehensive bathroom systems guide.
FAQ Section
Are living wall installation kits truly DIY-friendly?
Entry-level kits (2-4 ft²) are realistic for confident DIYers with some basic plumbing and electrical skills. Larger or hydroponic systems require expertise and may void warranty if not professionally installed. Always check manufacturer guidance and warranty details.
What is the real annual maintenance time for a medium (25-50 ft²) indoor living wall?
Expect 1-2 hours per week for watering, pruning, cleaning, plus about 20-30 hours per year for plant swaps, substrate refresh, and troubleshooting.
How much does a biophilic indoor wall install cost in 2024?
For entry-level modular kits (2-4 ft²), expect $300-$650 (kit), $40-$80 shipping, around $100 for mounting hardware and incidentals. Medium (25-50 ft²) walls: $2,000–$4,500 total. Large custom/pro installs (100+ ft²) with full irrigation can reach $12,000+ excluding design fees. Always get up-to-date quotes from at least 3 suppliers.
What happens if my living wall gets pests?
Isolate the wall if possible; remove and dispose of heavily infested plants. Treat with neem oil or insecticidal soap. Increase airflow and monitor for recurrence weekly.
Should I choose a soil-based or hydroponic living wall installation kit?
Soil-based kits are heavier, need more substrate replacements and attract more pests but require less technical setup. Hydroponic panels are lighter, need pump/electronics, and more monitoring but support unobstructed root growth and cleaner installs. Your maintenance preference and skills should decide.